Guide by Cesar · Updated October 2026
Portra 400 settings, for Lightroom.
Portra 400 is a Kodak film people love for warm, flattering skin and soft color. Here are the Lightroom settings that get you close, what makes the film look that way, and a free preset that does it in one tap.

What makes it Portra
Kind to skin, easy on everything else.
Portra 400 is an ISO 400 color negative film that Kodak made for portraits. Four things give it away.
Warm, even skin
Skin comes out warm and smooth without turning orange. That's what portrait and wedding photographers shoot it for.
Soft contrast
Highlights fade out gently instead of clipping to white, and the shadows keep their detail.
Quiet color
Greens lean olive and blues stay soft, so the people in the photo stand out from the background.
Fine grain, lots of light
The grain is fine for a 400 film. It also loves extra light, so many people shoot it a stop bright for an airy look.
The settings
Six steps in Lightroom.
Each step shows the panel it happens in, set to my starting numbers. Every photo starts from different light, so adjust to taste. In Classic, the same sliders are in Basic, Tone Curve, HSL and Color Grading.
1. Brighten and soften
In Light, raise Exposure a little. Then lower Contrast and Highlights and raise Shadows.
Light
2. Warm it up
In Color, move Temp a few points warmer, until white looks creamy instead of blue.
ColorWhite Balance
3. Fade the blacks
In the curve, drag the bottom-left point up a little, so black turns into a soft charcoal.
Curvein Light
4. Calm the color
In the Color Mixer, shift Green toward yellow and lower its saturation, and take a little out of Blue. For skin, lower Orange saturation slightly and raise its luminance.
Color Mixerin Color
Green
Blue
Orange
5. Add fine grain
In Effects, add a little fine grain. It should be something you notice up close, not from across the room.
EffectsGrain
6. Save it as a preset
In Presets, open the three dots menu and choose Create Preset, so the next photo takes one tap.
Presets
The shortcut
Or one tap, with Marfil.
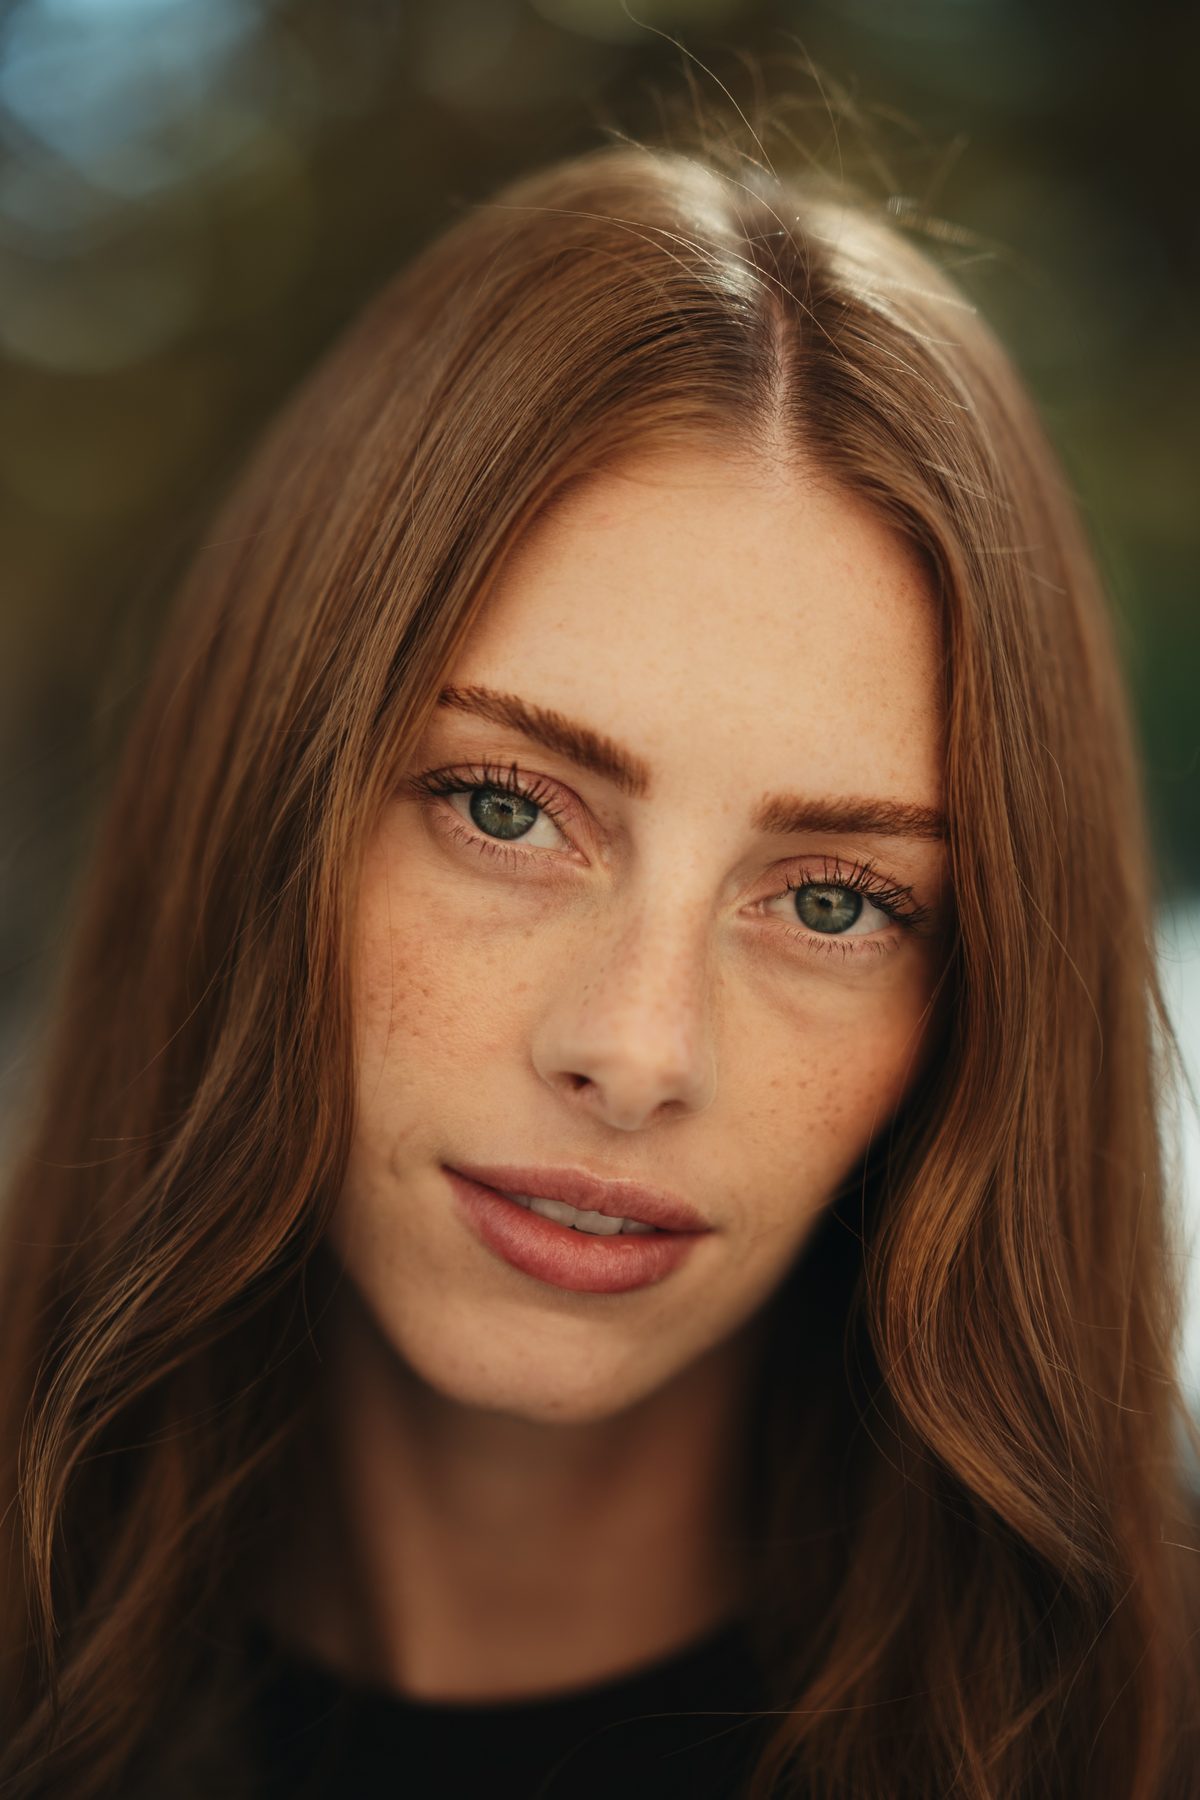
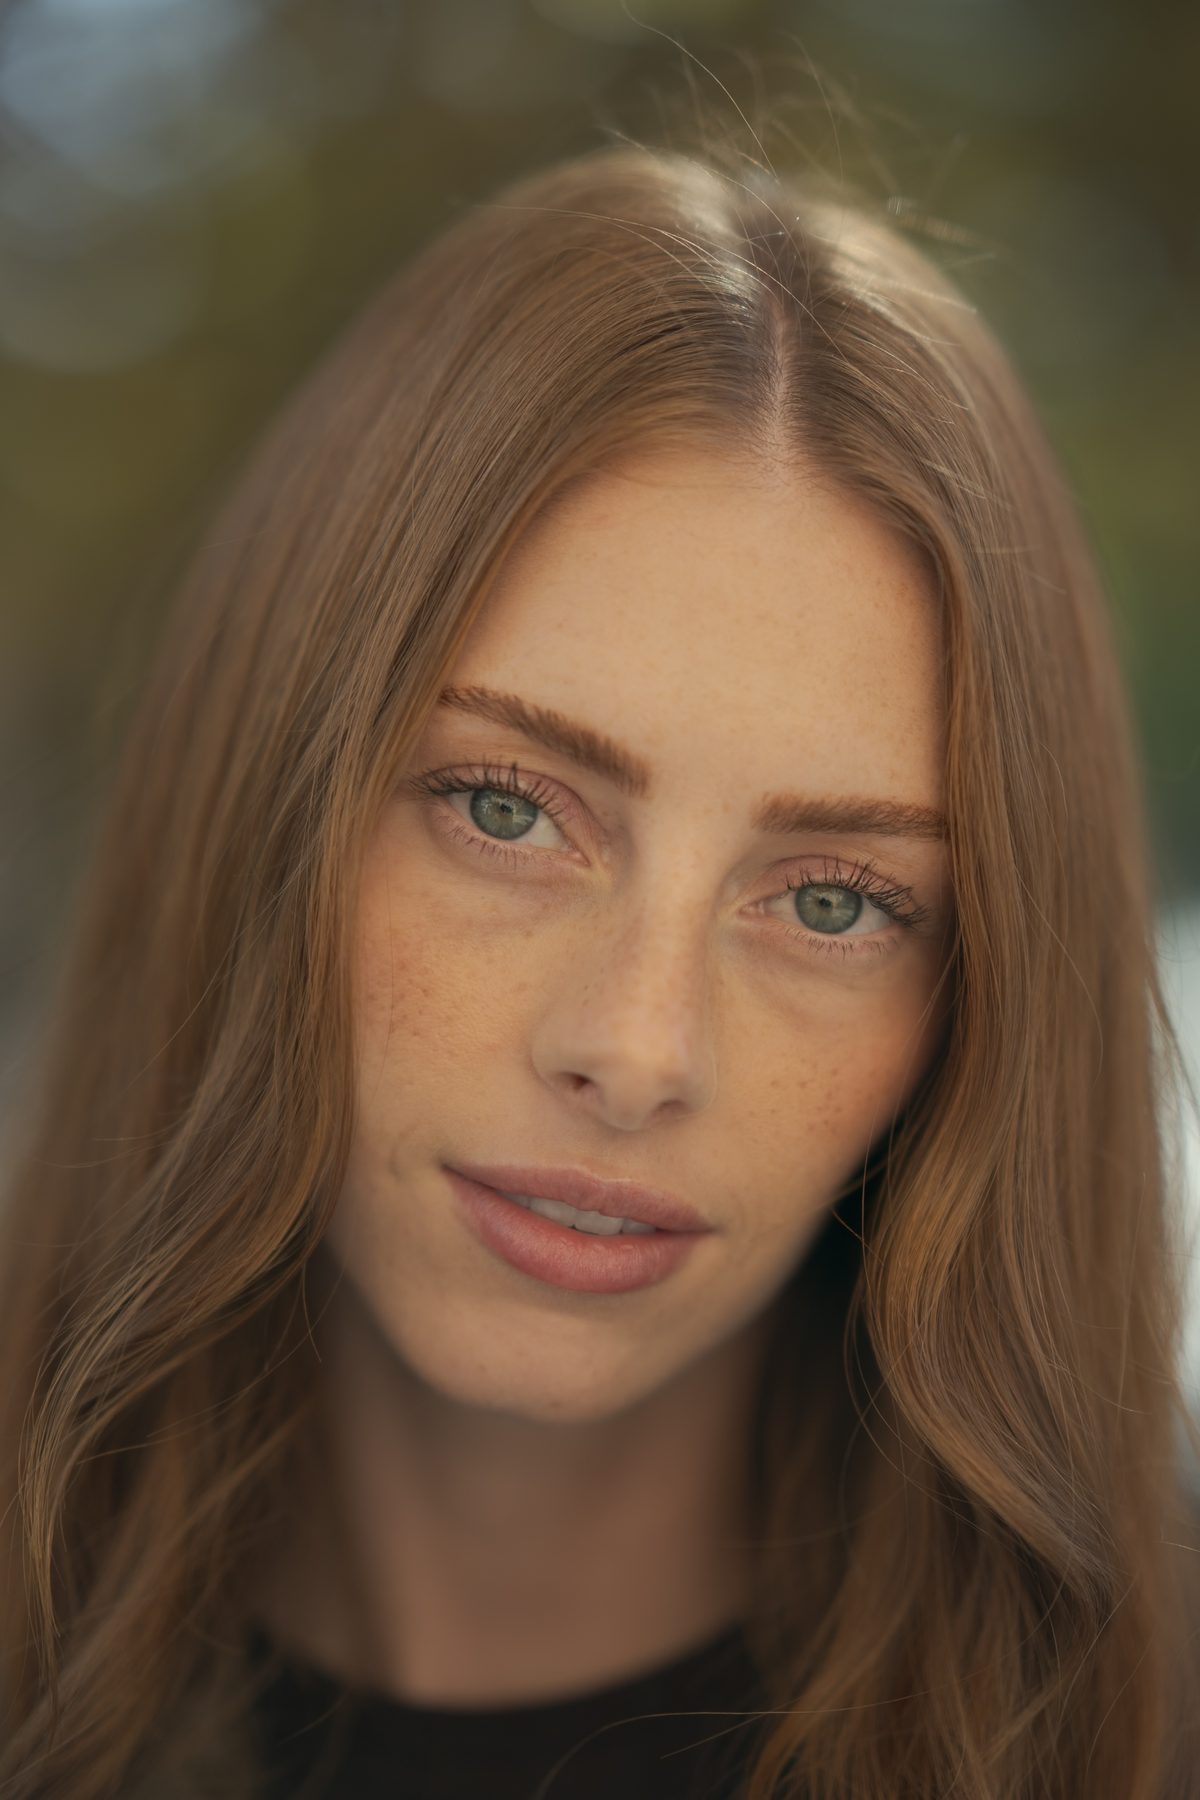
Marfil is my take on Portra 400: warm, creamy skin and color that's a little faded. Drag the portrait at the top to see it on a raw photo.
It's a profile, so it sets the color underneath and leaves your sliders free, plus a matching one-click preset. It works in Lightroom on your phone or computer, and it's free when you join my list.
Questions
Good to know before you start.
Is Marfil the same as Portra 400?
No. It's my own look, inspired by how Portra renders skin and color. Sombra isn't made or endorsed by Kodak, and Portra is Kodak's name.
Does it work on phone photos?
Yes, in the free Lightroom mobile app. It works on the phone's regular photos and on raw ones.
Why doesn't my photo look exactly like film?
Film doesn't look the same twice either. The light, the lab and the scan all change it. A look gets you close, and small exposure or white balance tweaks do the rest.
What's the difference between a profile and a preset?
A preset moves your sliders. A profile changes the color underneath them and leaves the sliders at zero, so you can keep editing without undoing the look.