Guide by Cesar · Updated October 2026
Black and white film settings, for Lightroom.
Black and white film strips a photo down to light, shape and grain. Here are the Lightroom settings for a classic film look, like Ilford HP5 or Kodak Tri-X, what makes it read as film, and two looks that do it in one tap.
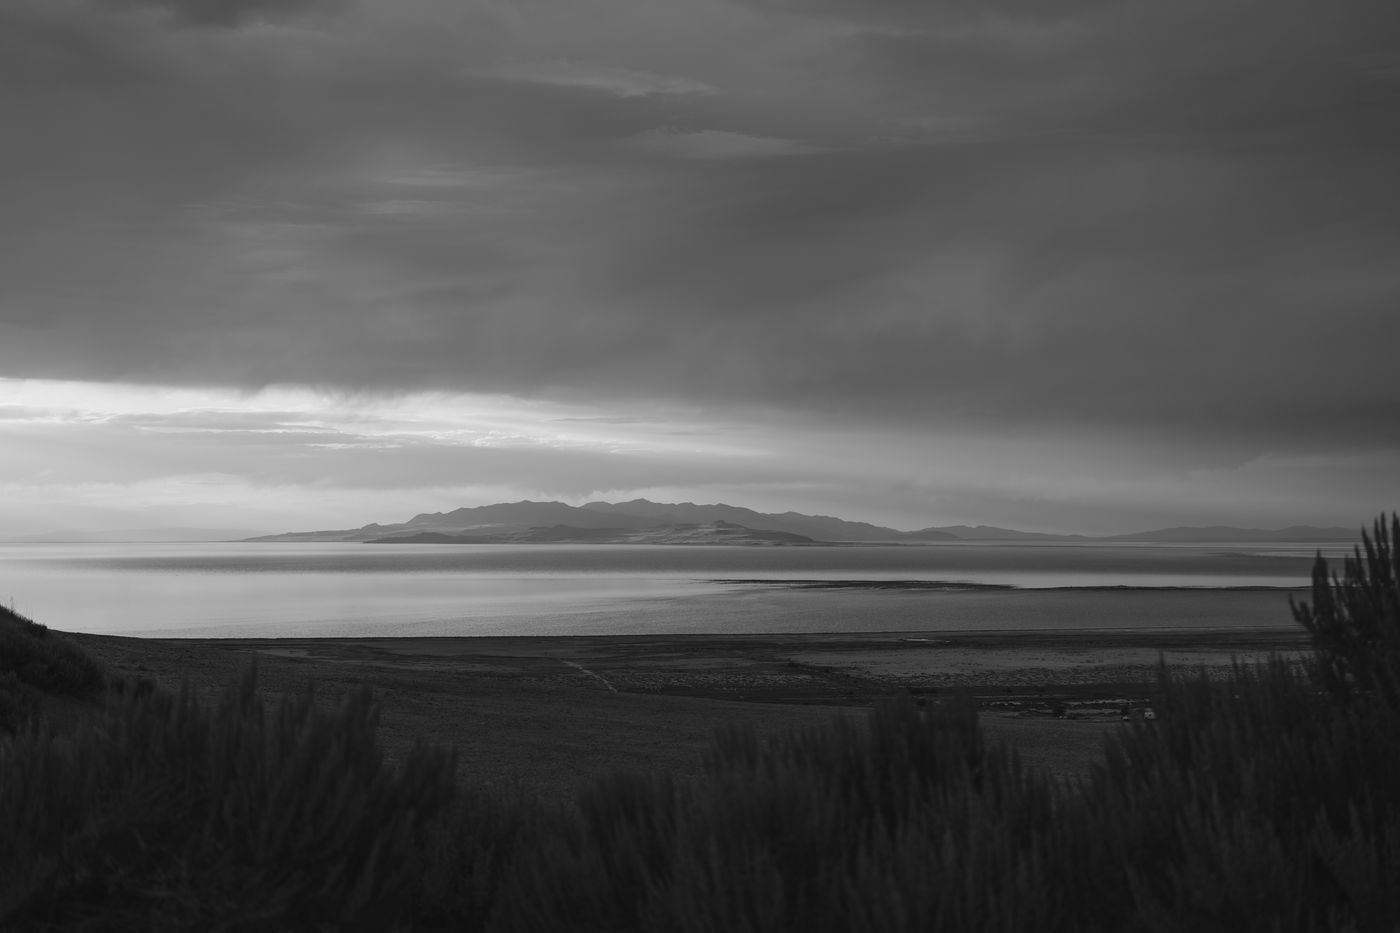
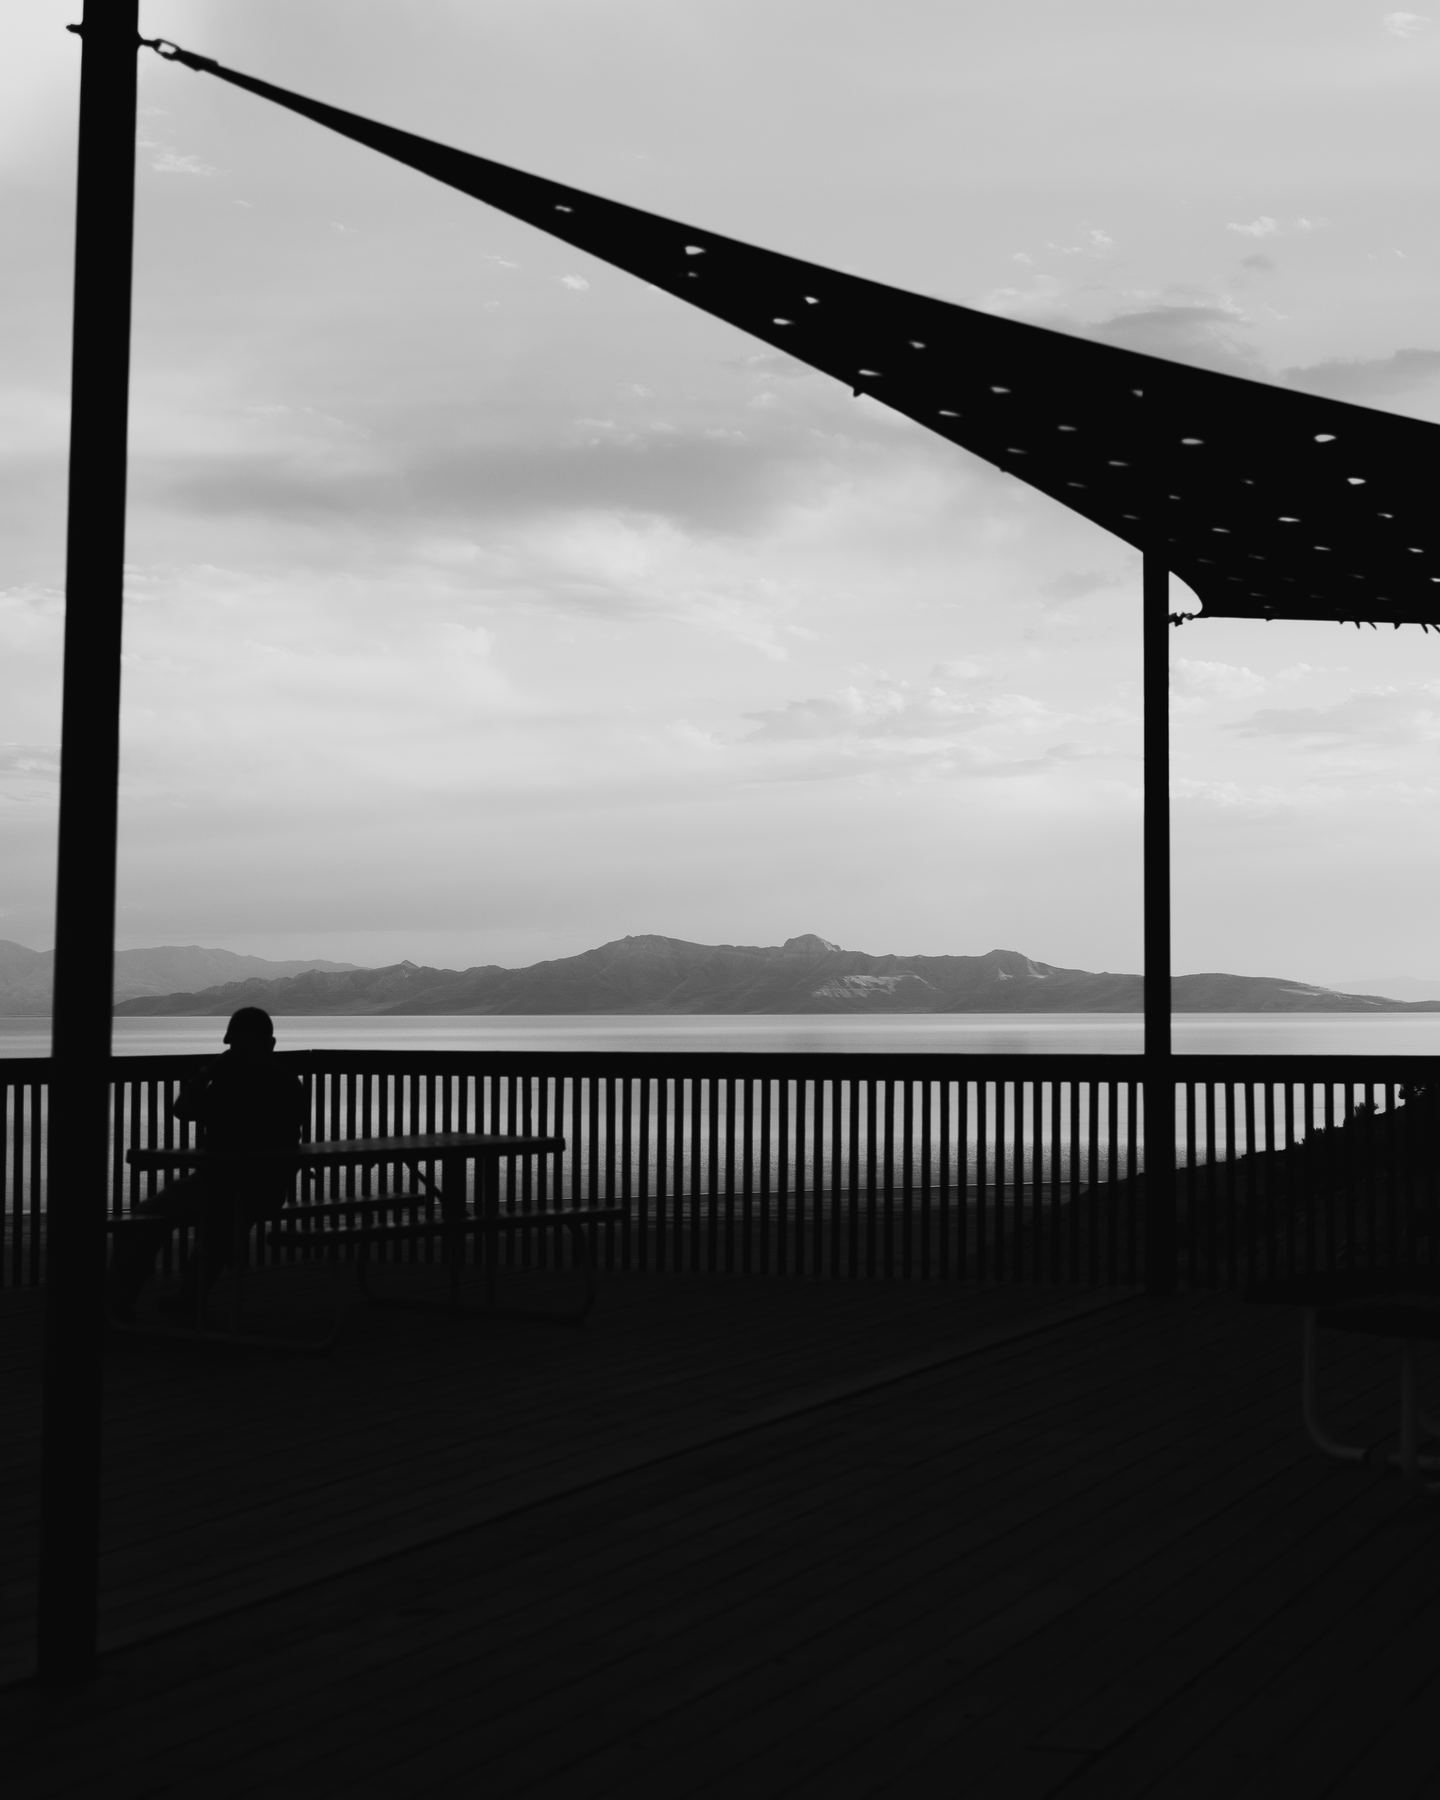
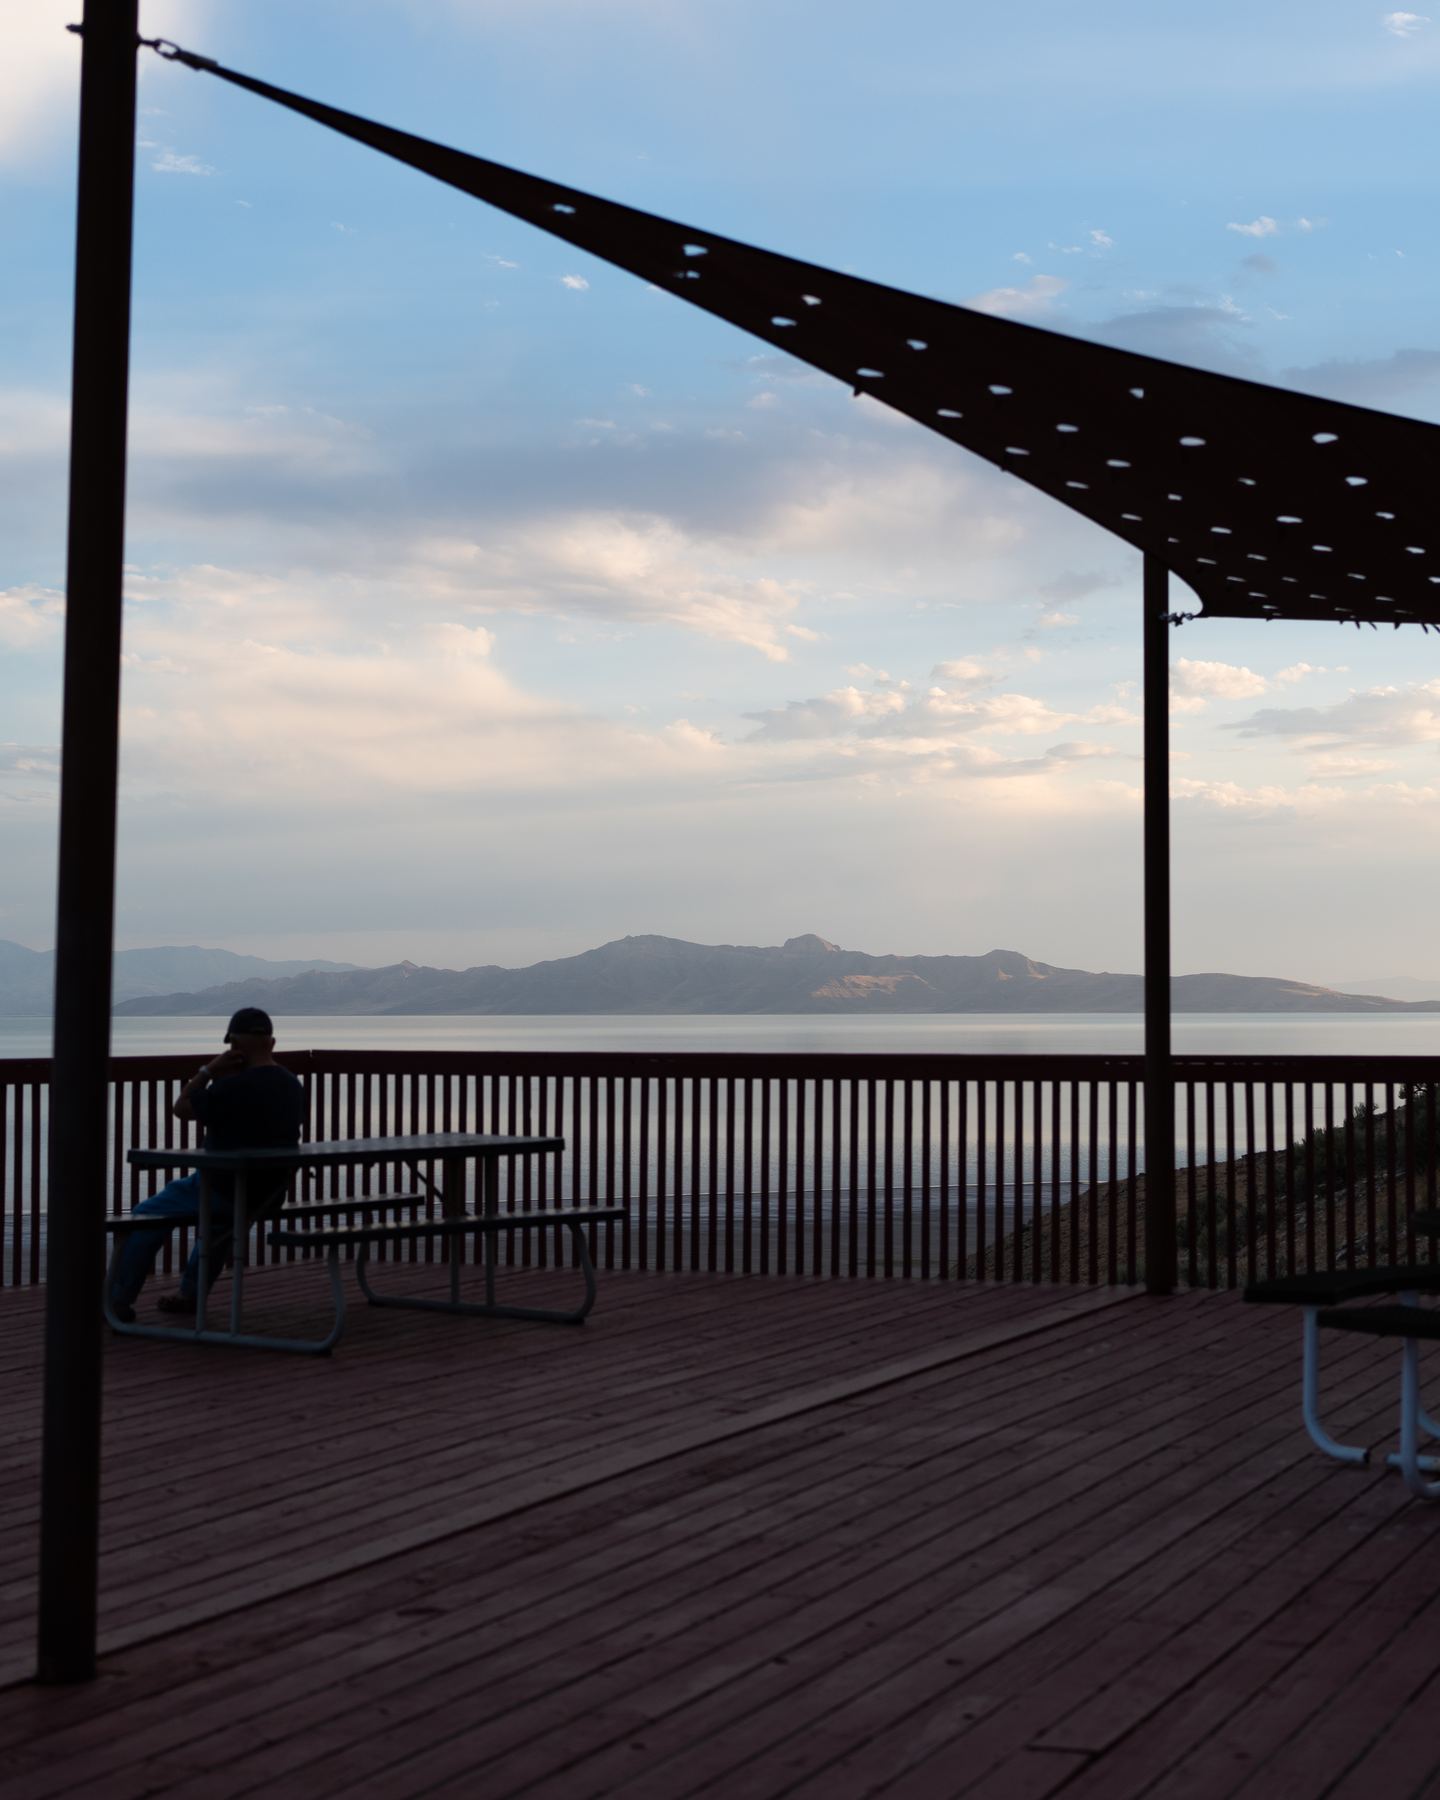
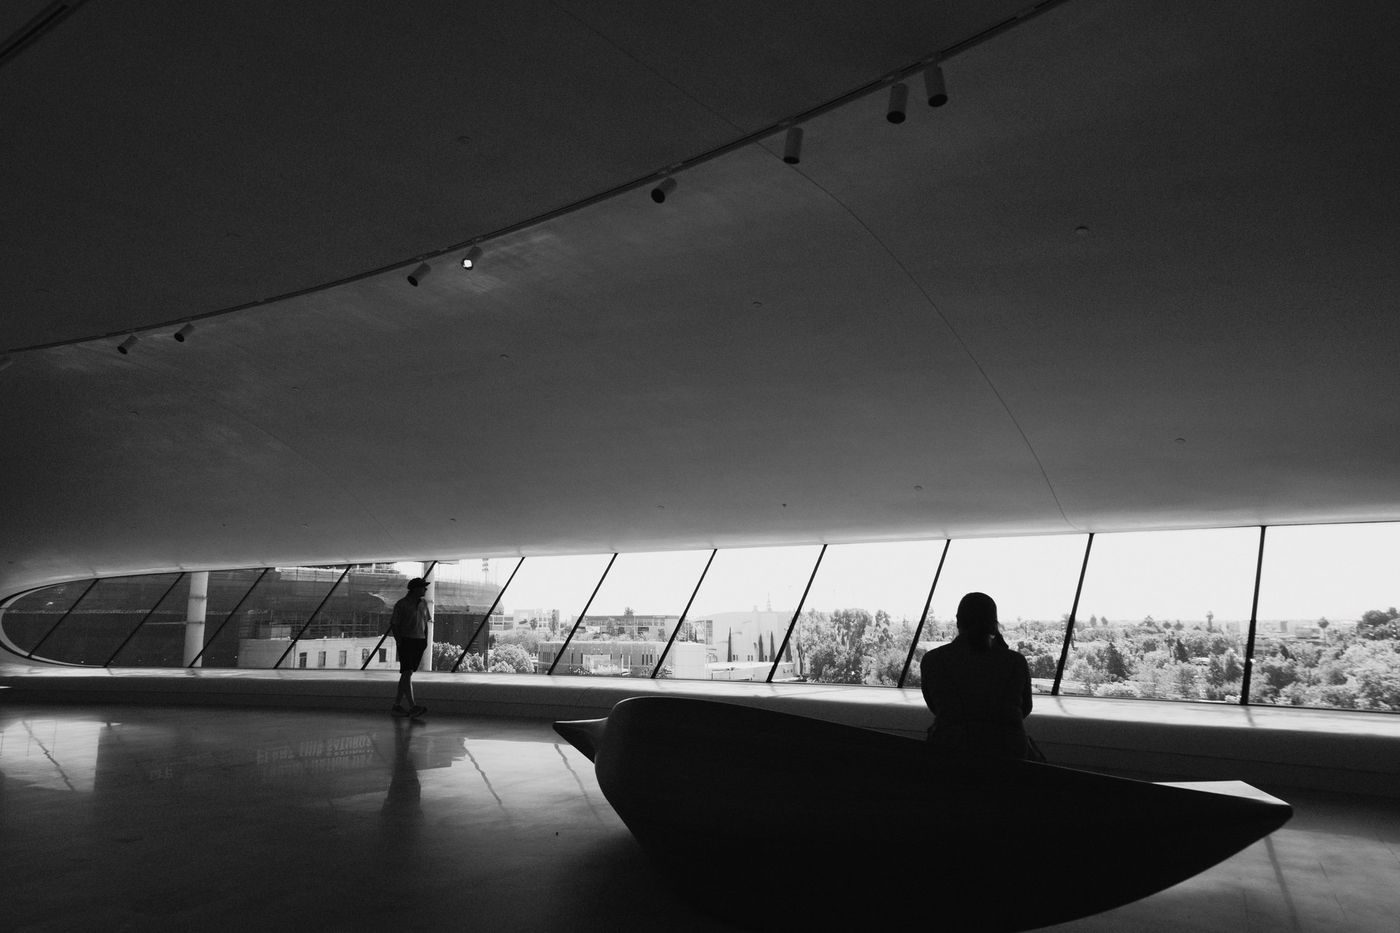
What makes it film
Light, shape and grain.
Turning a photo gray is one click. Making it look like a film print takes a few more choices. Four things give it away.
Color becomes tone
Every color turns into a shade of gray, and you decide which shades. Two colors of the same brightness turn the same gray, which is why some photos look flat.
Darker skies
Film left on its own renders blue skies pale. Photographers screwed on a yellow or red filter to darken them, and the B&W Mix does the same thing.
Deep blacks, soft whites
Shadows go rich and dark, but highlights roll off gently instead of clipping to flat white. That curve is most of the film feel.
Grain you can see
HP5 and Tri-X are ISO 400 films, so the grain shows. Pushed to a higher ISO in the lab, they get even more grain and contrast.
The settings
Six steps in Lightroom.
Each step shows the panel it happens in, set to my starting numbers. Every photo starts from different light, so adjust to taste. In Classic, the same sliders are in Basic, Tone Curve, B&W and Effects.
1. Go black and white
At the top of the Edit panel, switch from Color to B&W. Lightroom picks its Adobe Monochrome profile, a clean place to start.
EditTop of the panel
Light
Color
2. Filter the sky
In the B&W Mix, darken Blue and Aqua the way an orange filter would, and lift Red, Orange and Yellow so skin and warm light stay bright.
B&W Mixin Color
3. Set the contrast
In Light, add Contrast and Whites, lower Highlights so the sky keeps its detail, and deepen the Blacks.
Light
4. Shape the curve
In the curve, make a gentle S, with shadows a little down and highlights a little up. Lift the bottom-left point slightly, so black has a print's softness.
Curvein Light
5. Add grain
In Effects, add grain with a bit more Size and Roughness. Go further on both for the pushed look.
EffectsGrain
6. Save it as a preset
In Presets, open the three dots menu and choose Create Preset, so the next photo takes one tap.
Presets
The shortcut
Or one tap, with Memoria.
Two of Memoria's nine looks are black and white. Tinta is deep and clean, inspired by Panasonic's L.Monochrome D. Ceniza is very contrasty with strong grain, like HP5 pushed in the lab.
Each look comes as a profile with an Amount slider and as a one-click preset, for Lightroom on your phone, desktop or Classic.
Questions
Good to know before you start.
Are these the same as Ilford or Kodak film?
No. They're my own looks, inspired by how classic black and white films render light. Sombra isn't made or endorsed by Ilford, Kodak or Panasonic, and HP5, Tri-X and L.Monochrome are their names.
HP5 or Tri-X?
Both are ISO 400 classics. Tri-X has punchier contrast and grittier grain. HP5 is a little softer and more forgiving, and holds up well when it's pushed. Ceniza leans toward pushed HP5.
Do the looks work on phone photos?
Yes, in the free Lightroom mobile app. They work on the phone's regular photos and on raw ones.
Why does my black and white look flat?
Usually the colors in the scene had the same brightness, so they turned the same gray. Pull them apart in the B&W Mix: darken the sky with Blue, and lighten skin with Orange.